On one of my many trips to the local thrift store I picked up some small wooden frames for a whopping 50 cents each. I had a fairly good idea of what I wanted to do with them but of course when push came to shove I was frozen with indecision on what colour palette I wanted to go with to create my vision.
I had something in my head with vibrant turquoise, yellow, orange, and pink. Eventually I had to be honest with myself and admit that I'm just not that colourful, well, at least my home isn't. So I went with a very natural, neutral, shabby chic vibe instead.
Here's what you'll need for today's craft:
 |
| A pencil will come in handy too. |
Steps:
1) I wanted to cover the frames with the beautiful handmade papers that I had. But the paper is very thin and I could practically see the wood grain right through it. I figured that once I added glue it would probably thin out even more. So, my first step was to give each of the frames a light painting with some wicker white. I think this helped seal the wood a bit too so that the glue didn't just seep right into the frames.
2) Once your paint has dried, place your frame face down onto the paper and trace about 3/4" all the way around the outside and cut out your rectangle.
3) Next, measure approximately 5/8" from the inside frame and cut that out too.
4) Now comes the fun part...the Mod Podge! Paint a layer of Mod Podge onto your frame and place onto paper.
5) Cut the corners of your paper diagonally to the edges of the frame (inside and outside corners).
6) Apply Mod Podge to the sides and back of your frame. Fold the paper over and secure with the Mod Podge. You should get nice clean straight corners.
7) Add another layer of Mod Podge to the top of your paper to fully seal it and give it a nice shiny finish.
8) Cover the rest of your frames to create a little collection.
9) While I was waiting for the Mod Podge to dry I went to my computer and printed out some photos that I've taken in my garden.
10) Once your frames are dry, place your photos in the frames and replace the glass and backing.
11) I hemmed and hawed over what to use as my hanger but in the end I used some pretty lace that I won from Marina over at
Frabjous Couture .
(Ah! So many choices to make~)
Measure out approximately how much lace you need to hang your frames by laying the lace on top, leaving enough for tails at the bottom and some length and a knot up top.
12) Flip your frames over, lay the ribbon or lace or whatever you're using, onto the backs of your frames, taking care to make sure everything is level and balanced.
And now for the goofy part. I'm so unsure that this is what I want to use this lace for that instead of gluing it down I just used masking tape to secure it. I just have this feeling that sometime in the future I'm going to be making a pretty dress or blouse, need some lace trim and think, if only I hadn't glued that lace onto those frames!
So, obviously if you're not as weirdly undecided as I am and don't treat every little crafting decision like it's a UN resolution, then just go ahead and use your glue gun or crafty glue and secure everything down.
13) Cut your bottom tails on a nice angle.
And voila! You're finally done!
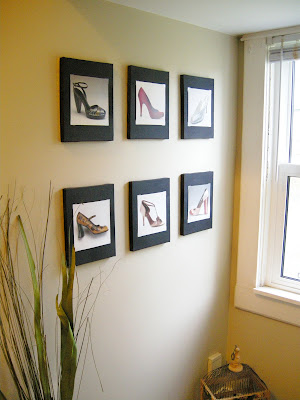
I like putting up stuff on tiny little walls like this in the hallway. I think every wall should have at least one thing on it!
There are so many ways you could add your own touch to this project. You could use scrapbooking paper or even fabric (careful not to add to much bulk or you won't get your glass back in). Use ribbon or twine instead of lace. Hang a 5 or more frames, put pictures of all of your family members. The list goes on and on. Give it a go and let me know what yours looks like!
Don't forget to enter the
Plaid Extreme Glitter Paint Giveaway before August 31st!
Also, I've added some new linky parties to the tab up top so go take a look and check out some parties for loads more great ideas from blogland.
Have a great week everyone!


