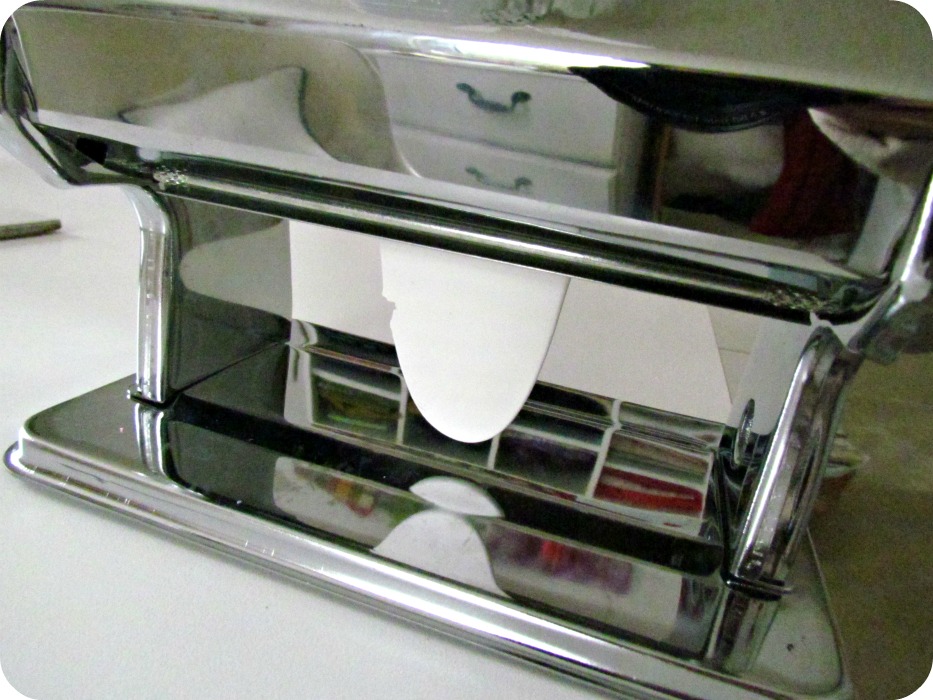
This is what I currently keep all of my larger cooking utensils in, on my kitchen counter.
It's pretty ugly, but still passable...until you get really close and notice that it used to sit on top of my oven, in between all the burners, and got a little too hot at least once.
I did some deep down dirty spring cleaning last weekend and when I was all done I just hated putting that ugly thing back on my counter. So I'm making a new one!
Here's what you need:
If you don't have a pasta machine for rolling out clay just substitute a rolling pin (that you will never use with food again).
Steps:
1) Take some polymer clay out of the package and start conditioning it by breaking it up and rolling it around between your hands. Get it nice and soft and shimmy it around between your palms to make a large pebble shape.
2) Run your clay pebble through the pasta machine, starting at the highest setting and gradually going down until you get the thickness you like.
My machine starts at 9 as the thickest and I went down to 7.
3) Using a small petal shaped cutter, cut out your shapes. You can find cutters in the polymer clay section at the craft store, but check things out the baking section too because there's always loads more fun shapes there.
4) Just start sticking your clay petals onto your glass vase but gently pushing them down. You can furl the edges up slightly to add some more texture.
5) One of the great things about polymer clay is that there is absolutely no waste. Just take the clay that was left over from cutting your shapes out and repeat steps 1-4 until you have the design you want.
 |
| If this were paper it would be garbage. |
 |
| But like magic, we have a whole new piece to cut from! |
6) For the centres of the flowers I used this little flower shape to cover up all the uneven edges.
7) I was originally going to cover the whole vase, but I ended up loving the design when I got it this far so I just left it.
Hmmmm, oorrrrrrrrrrrrrrrrrr not. I actually baked this, filled it up, and let it sit on my counter for a few days but it drove me crazy. Everytime I walked past it I thought "That doesn't look finished!" So, I added more flowers and baked it again.
8) Following the directions on your clay, bake it. I always like to double bake my clay projects but that's just a personal thing. All that means is that I bake it once, let everything cool down, and then bake it exactly the same way again. I feel like this makes the clay just a tiny bit stronger.
Obviously, do not use a plastic vase or anything else flammable. Even though the clay bakes at a very low temperature you can never take any risks.
9) If you want, after everything has cooled down, you can brush on a layer of Mod Podge or other sealant to ensure you clay stays in place, gives it an extra sheen, and will be easy to wipe down to keep it clean.
Tah Dah! So much better don't you think???
Here's my inspiration, that I totally forgot I had pinned. I thought I had come up with this brilliant idea on my own, but it looks like Anthropologie implanted it into my subconscious via pinterest when I wasn't looking~
 |
Yours for only $78
(mine cost about $2.00) |
What do you keep your kitchen utensils in? Is it full of things you never use? Leave a comment and share your ideas~
This project was featured here: