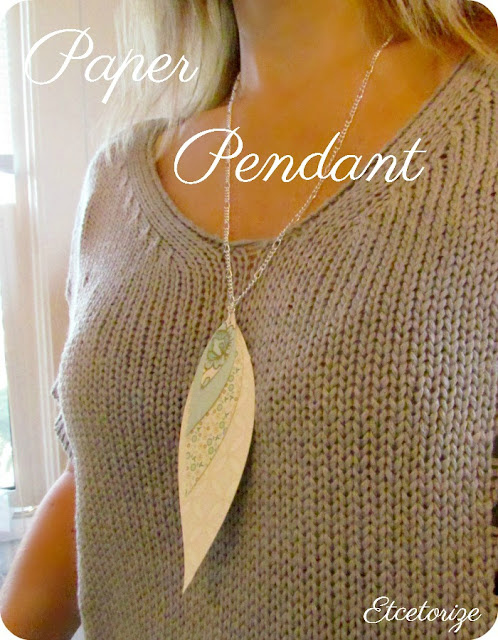
My real life job, yeah the one that pays the bills around here, is getting in the way so I hope you'll bear with me while I figure out how to fit it all in.
In the meantime...I hope you enjoy this week's fun and super easy project!

Supplies:
-Pretty medium/heavy weight paper
-optional template
-craft knife and cutting mat
-standard jewellery making kit: pliers, jump rings, chain, closure
-small hole punch
(In the picure you also see a glue runner, but I decided not to use it so just pretend it's not there)
Before we get started I have to tell you about my template. I picked it up at the dollar store and got 4 different templates for a whopping $1.25!
I was originally drawn to the mailing/gift tags but this project uses the leaf pattern:
Steps:
1) Choose 4 different papers and decide how you want to layer them. It's important to use heavier weight paper so that your pendant doesn't bend or fly around while you're wearing it.
 |
| It's hard to see but some of these have sparkle! |
4) Using a very small hole punch, punch a hole through the top tip of the shape, getting as close as you can to the edge without tearing the paper.
So easy! You can use any type of shape. This is a great paper buster for all those little bits of scraps you keep from past projects too! If you want to add more body to your shapes add a layer of Dimensional Mod Podge before you put it all together.
I'll try to have more to share next week. Until then...don't be afraid to leave a comment~
Check out my other (very popular) paper jewellery project HERE!


10 comments:
Love, love, love this. So feminine and simple!
Gorgeous and I love that I can create millions and millions using up all my scraps!
So feminine and creative!
It looks beautiful and would make a great scrap-buster.
So pretty Tamara! Did you glue the layers together or just let them hang?
Sheree
Super cute (and simple too)!
Beautiful pendant! Thanks for sharing the tutorial.
Great idea! You can make one for each outfit!!
So clever and great use of scraps which I'd wager to say we all have plenty of. You are so talented at so many things. I'm jealous.
I have got to try this, think I'll try the circle necklace first only I'll put more than one on the chain. I had to go look at that post so I'd know what I'd been missing, so glad I did.
Since I can't stand heavy stuff on my neck or wrists in hot weather I'll be able to wear a lighter necklace hopefully. Will be really fun to make the necklace and a bracelet, earrings to find out.
I think my 13 yr. old granddaughter will love these. It's hard to tell about her 16 yr. old sister.
i love your pullover where did you get it :)
Post a Comment