Now that all of the snow has FINALLY melted and I can spend some time outside I got out my trusty Outdoor Mod Podge and set to work on this week's fun butterfly project.
This is a fun and easy project that comes in super handy if you're going to be away from home for more than a few days and don't want your flowers beds to dry out.
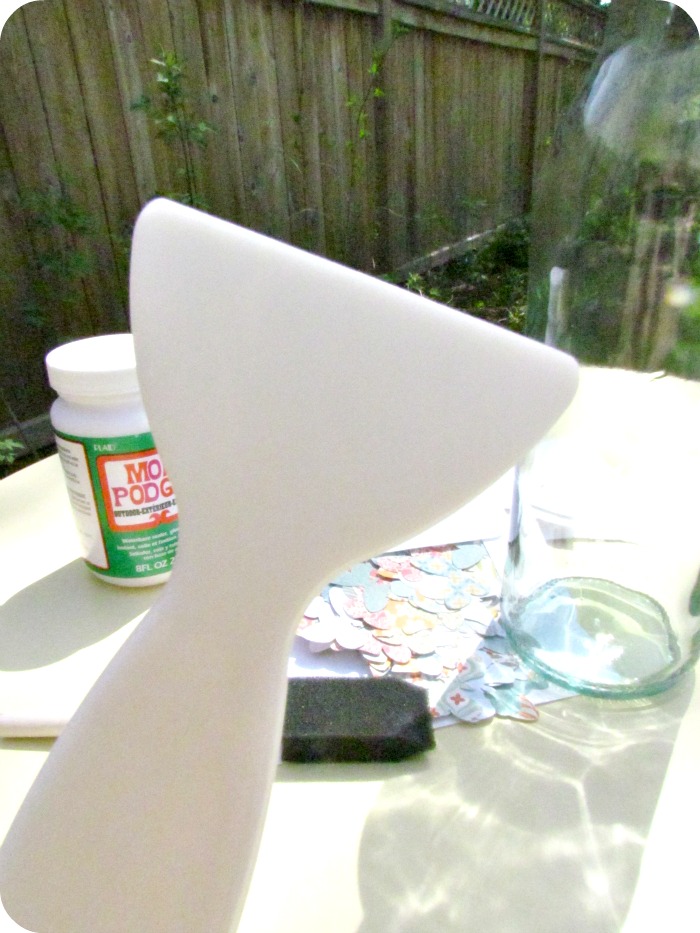
Here's what you need to make your own water feeder.
Materials:
-empty bottle
-Mod Podge and sponge brush
-Pretty paper shapes
Steps:
1) Clean out your bottle and remove any labels.
I just used lots of hot water and this little scrappy thing. If that doesn't work for you try using cooking oil~
2) Have all your shapes cut out and ready to go. I had all sorts of butterflies left over from my
canvas project I showed you last year so I figured I might as well put them to use.
It's nice if you have different colours and sizes but the look is all up to you.
3) Paint on your first layer of Mod Podge, adding paper shapes as you go. Use your sponge brush to
make sure every little corner sticks down.
**Important! Remember that your feeder will be standing with the mouth of the bottle down, make sure you hold your bottle upside down while adhering your shapes so that their right side up when it's put to use. (Does that make sense???)
4) When your first layer is dry make sure to go back over the whole piece with a second layer to seal in all of your designs.
5) Once everything's dry, fill your bottle up with water and tip upside down into the soil where all your pretty flowers are.
Now you'll come home to full and well fed gorgeous planters!
What kind of flowers do you plant in your planters? Any favourites? I'm trying wave petunias this year! I can't wait to see how they fill out throughout the summer.
I hope you've enjoyed
Butterfly Week and have found some inspiration in all of the fun and fluttery projects~