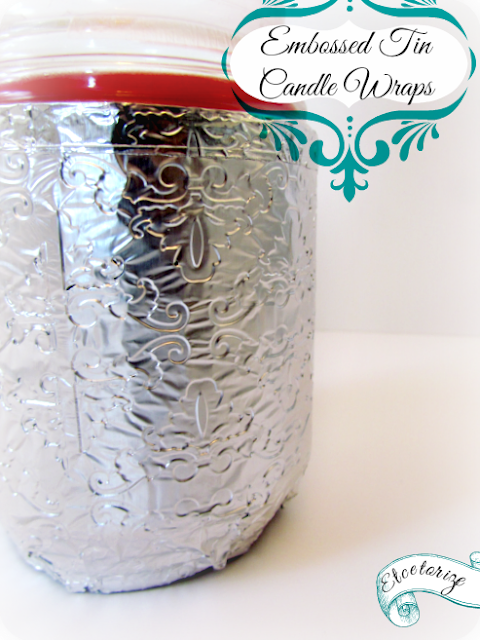
Here's what you need to cover up your own candles:
Supplies:
-Tin foil
-embossing folder
-straight edge, craft knife, cutting mat
-candles
-glue runner (not shown)
-optional: rolling pin, measuring tape
NOTE: YOU DO NOT NEED AN EMBOSSING MACHINE (LIKE A SIZZIX OR CUTTLEBUG) TO DO THIS CRAFT :)
Steps:
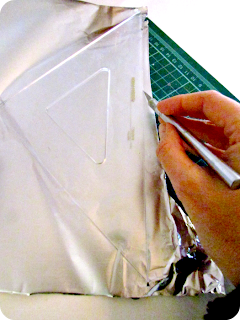
1) Cut a piece of tin foil to fit the height of your candle. I don't have much luck getting a straight edges with the built in cutter so instead very lightly score a straight line and then tear along your straight edge. If you try to cut with a knife you'll still get ragged edges, gently ripping is the way to go.
2) Place your foil inside your embossing folder and either press with your hands or roll over it with a rolling pin. I found more consistent results with the rolling pin method.
 |
| Try not to press too hard or you'll make holes in your foil instead of just embossing it. |
4) Run a line of glue along one short edge.
5) Now just wrap the foil around your candle (or jar), press the edges together to seal the glue and you're done!
If you have trouble getting a nice clean edge, just fold it over like I did at the top. If you have a funny shaped candle you can easily mold the foil to your container.
I experimented a bit and sponged some black paint onto the foil to see if it would bring out the embossing pattern a bit.
My technique needs some work but I don't mind it.
Did you get all of the crafts finished that you wanted to do this year? Don't worry, there's 365 days left next year to finish up that 'to do' list!
Happy New Year everyone~


2 comments:
So beautiful.. perfect..
What a simple idea!
Post a Comment