Showing posts with label recycle. Show all posts

Wednesday, December 17, 2014

Bubble Light Holder

I can't get my Christmas tree lights to co-operate, but I can still enjoy my bubble lights!


One of my favourite parts of Christmas when I was a kid was when my Grandma would put out her bubble lights.  They were like magic to me.

I suppose they're meant to be put on a tree, but my Grandma always lined them up in the window behind her Christmas village so that's how I like to display them now too.  But that can be challenging when they look like this....


So, I came up with a wonderful recycle project that makes life with bubble lights much easier!
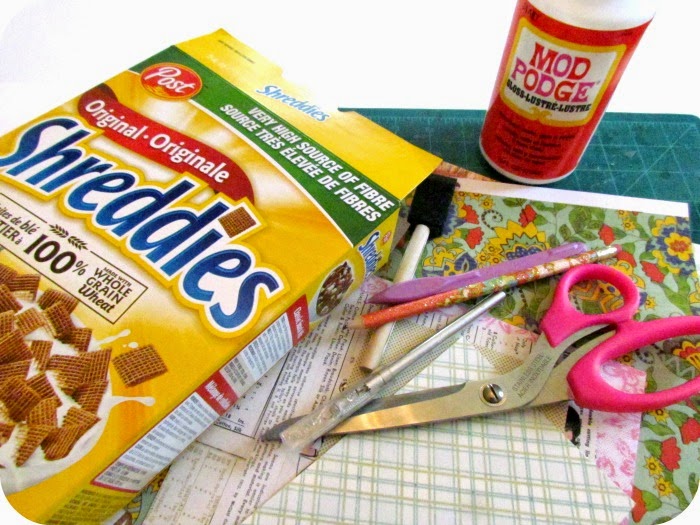
Materials:
-Bubble lights
-empty Christmas wrap tube
-craft knife
-pencil and measuring tape

Steps:
1) Count out how many lights are on your string and make the same number of markings on your tube, equal distance apart.


2) Use your craft knife to cut holes at each of your markings.  The holes should be big enough for your light bases to fit snugly.


3) Now just take the lights out of the sockets and set them aside and then ease the cord into the tube, pulling up the sockets into each hole.


4) Place the lights back in the sockets.


That's it!  I just set mine up on my window sill and threw some fake greenery on top to cover the tube.  You could paint the tube to help camouflage it even more but I found that this step wasn't necessary (plus I was throwing a party in a few hours and didn't have time for paint to dry).


Turn on your lights and watch the magic happen!  Bubbles everywhere!


Do you have bubble lights?  How do you display yours?  Leave a comment below~

Friday, November 7, 2014

Christmas Top Refashions

Almost every year I seem to end up buying one sparkly sweater or top just to wear for Christmas celebrations.  Then it sits in my closet the rest of the year.  Do you have a pile of those tops?  Well, today we're going to put them to use!


I found these holiday type tops for next to nothing, and instead of wearing them for one or two nights this Christmas, I'm putting them on my couch for the whole season.


The gold one is a sort of velveteen and the reddish one is crushed velvet.  I'm not sure how flattering these would be on anyway so I don't mind cutting them up~

These cushions require minimal sewing so they're easy to whip up, even for beginner sewers.

Steps:
1) Lay your top out on a flat surface and cut straight across as shown below.


2) Turn your cut piece inside out and stitch along the bottom.

3) Turn your cover right side out and attach 4 pieces of ribbon to act as tie closures.

This way you can easily take your cushion
out and use without the cover after the holidays~

That's it!  just a few stitches and your done.


The next cushion is a little different, but just as easy.

Steps:
1) Again, lay your top out flat and cut straight across under the arms.


2) Same as before, turn your cover inside out and stitch along the straight edge bottom.

3) I wanted to take advantage of the curved hem (which is now the top of my cover).  I put my cushion inside and simply folded it over the top and stitched on a beautiful button.


You can still take this off after the holidays with an easy snip of the thread holding the button on.


That's it!  2 holidays cushions for your guests to relax on in just minutes.


Look at that! They even go with my sequined Butterfly Cushion.

Confession time....how many holiday tops do you have in your closet that you never wear?  Leave a comment below~

Friday, August 8, 2014

Cereal Box Journal

I'm having a hard time recycling in my house lately....because I want to keep everything to make pretty crafting projects with!

DIY Journal, cereal box recycle, make your own journal

If you want to take your recyclables from trash to smash, here's all you need:


Materials:
-lightweight cardboard box from your pantry
-Mod Podge and sponge brush
-scissors, crafting knife, and cutting mat
-pencil, ruler, scoring tool
-pretty papers
-optional: brayer, scoring board
-not shown: clips or clothes pins

Steps:
1) Gently take your box apart so that it lays flat.


2) Cut along the pre-scored edges, thinking about how you will use each piece and snipping off bit like the one at the bottom front.

3) Here's what I ended up with:


4) I decided to use the front piece to make a simple journal cover.  Cut off all tabs so that you're left with a flat rectangle.  Measure and mark the half way point on the long edges.


5) On the inside, score your board 1/8" on either side of your marks.


6) Cut your blank or lined paper for the inside to fit.


7) Clip your paper together so that the edges are even.  With your sponge brush, generously apply Mod Podge along one long edge, being careful not to let it seep inside.


8) Clip the edge together, making sure that you're clips don't touch the Mod Podge.  Let dry for a couple of hours.


9) While you're waiting for your paper slab to dry, you can start the fun part...decorating the outside!  Just cut some pretty papers to fit and use your Mod Podge to adhere.  This is where a brayer comes in handy if you have one.  It just evenly smooshes everything down nicely.


10) Once you're done decorating, and your other piece is dry, add some more Mod Podge into the little canal you created when you scored the centre.


11) Place your paper slab inside, Mod Podged edges meeting.  Close your journal and clip together again.  Wait for everything to dry.


12) When that's all dry you can add pretty tabs and pockets to the inside if you want.


It sounds like lots of steps, but really it's a very simple project.

Here are some more books I made with the other pieces of the cereal box:


For these ones I used the flaps to my advantage and then just added a belt closure.  I think the little ones will come in handy for things like grocery lists.

Warning...if you do this craft you won't be able to look at an empty box in your kitchen the same way again.  You'll be thinking up all kinds of ways to cut it up, glue some pretty paper on it, and use it for something else.

Have fun!

Friday, July 18, 2014

DIY Sturdy Gift Bag

Today feels like a good day to pull out the Mod Podge and do some recycling!

Mod Podge, DIY Gift Bag, Sturdy Gift Bag, Recycle a box


I showed you how to make a gift bag from gift wrap paper before, but even I have to admit, those bags are really only useful for lightweight items.  This bag is heavy duty and should be able to hold almost any kind of gift you have to give.

The secret?  It's really a box!


Yes, I'll do almost anything for you guys...even eat a box of 12 fudgesicles.  (Not all in one sitting!)

Here's what you need to make your own Sturdy Gift Bag.


  Materials:
-empty box
-Mod Podge and sponge brush
-Pretty papers and embellishments
-Ribbon
-Cutting mat, scissors or craft knife (or a cutting board)
-ruler
-hole punch (not shown)
-optional: glue runner

Steps:
1) Measure the sides of your box and add at least 1/4" to the width.  I found that the edges of my box wasn't super crisp and even.  The extra 1/4" will give you some wiggle room to make sure your paper will cover everything.


2) Once you've got your measurements, cut your paper to fit.  I'm doing a patterned paper for top 3/4 of the bag and a solid at the bottom, that's why I have extra pieces.  At minimum, you should have 2 large pieces for your front and back, and 2 small narrow pieces for your sides.


3) Use your favourite adhesive to glue down the opening (the top of your bag) to the inside of the box.


By gluing it down instead of cutting it off you'll create more strength for the handles later on.

4) Glop on some Mod Podge and set your papers in place.


You can see here where I overlapped my paper on the side.  If I had cut my paper the exact width of the box you probably would've been able to see it peek through.


Here's what my bag looks like with the paper on it.  I could stop here and just add handles but it still looks a little blah to me.


5) So now is the fun part!  You get to embellish your bag!  I used this matching sheet from the same paper pack as my other two sheets and added a cute (and glittery) little belt around where the papers meet.


6) At the top opening of your bag, measure in at least 2" from each side and about 5/8" down from the top.  Punch 2 holes on each side and thread some ribbon through and knot it on the ends.


If you don't have ribbon you can use rope, twine, or you could even braid some strips of fabric together!  I added a pretty pre-made tag to mine.


That's it!  Easy Peasy!


Now I have a gift bag ready to go for any occasion, I have one less thing in the recycle bin, and I got to eat 12 fudgesicles!  What could be better?

This is a great project to get rid of any papers that have been sitting in your closet for too long.  I bought this pack ages ago because it was cheap, but I rarely use it because it just doesn't sing to me.  I like that I'm finally using it, and I think it actually looks quite pretty now~

What will you put in your gift bag?  Leave a comment below~

Linkwithin

Related Posts Plugin for WordPress, Blogger...