Showing posts with label butterflies. Show all posts

Saturday, September 27, 2014

Butterfly Monogram

As the cold weather starts to set in all of the pretty butterflies have flown off to much warmer climates, aren't they smart?  So, I decided to make do with some lovely paper versions I had in my craft stash.

Butterflies, Mod Podge Butterflies, Monogram

Here's what you need if you want to make your own pretty monogram art to put on your walls.


Materials:
1) Picture Frame
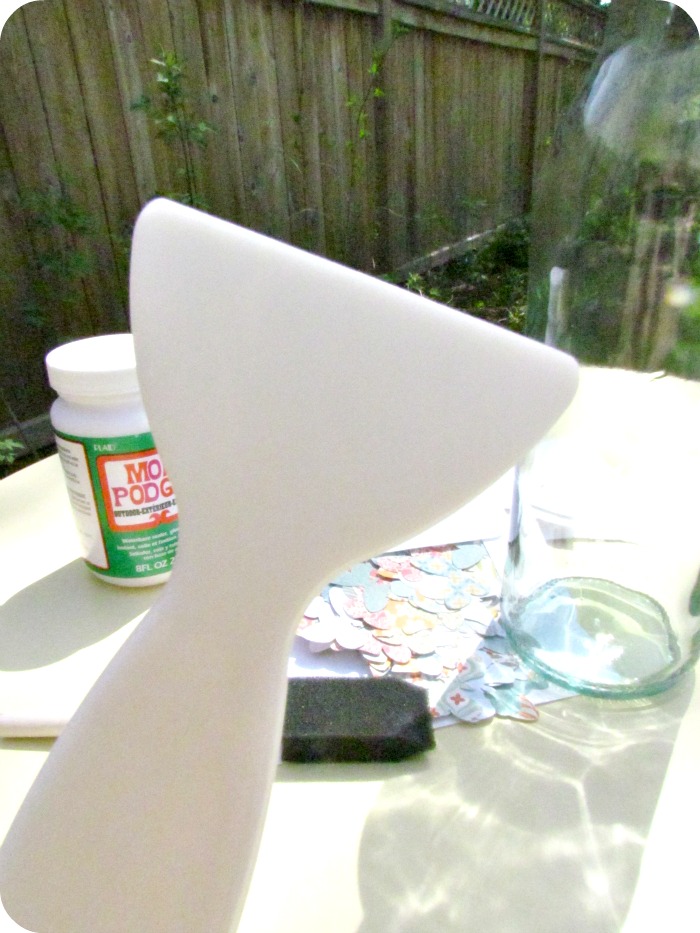
2) Sponge brush and Mod Podge (or your favourite adhesive)
3) Cutting machine or craft knife & scissors
4) Poster Board

Steps:
1) Cut 2 pieces of poster board to fit your frame.


2) Using just one of those poster board pieces, cut out the initial you want to use with either a cutting machine or print, trace, and use a craft knife.


3) On the poster board that you didn't cut, lightly trace your initial, and then glue your butterflies to the area.  Make sure to overlap the edges and try not to leave any white space.


You will end up with something that looks like this:


4) Once all of your glue is dry, simply layer your cut out board on top of the butterfly collage.


5) And place inside your frame to hang in a special spot.

Butterflies, Mod Podge Butterflies, Monogram

Now I just have to find a room in my house that isn't already taken over by butterflies so that this piece will really stand out.  I love how it turned out!

You could use pictures cut out from magazines, or scrapbust all those small pieces of scrapbooking paper or fabric that you've been storing.  I'm thinking about spelling out my niece's whole name, one frame per letter.  How pretty would that be in her room?!?

What would you put behind your initial?  Leave a comment below~

Check out another way I used these butterflies HERE.

Wednesday, August 27, 2014

Butterfly Cupcake Toppers

This is the last of the cupcake toppers for awhile (there are only so many cupcakes I can eat!).  But these ones turned out so gorgeous I just had to share them with you.


I used my Silhouette to make the backgrounds, then I inked the edges glued them together with the sticks, and added the beautiful butterflies (which I cut out by hand!)


They're only attached along the bodies so that the wings can be folded out to add some dimension.


I made similar ones HERE last year, but I think these ones really take it to the next level.  I can't wait to have a special tea party so I can put these to use.

If you don't eat cupcakes, you can still use toppers.  Try them on muffins or as sandwich sticks.  Can you think of any other uses?  Leave a comment below~

Friday, May 16, 2014

Beautiful Butterfly Hairpins

I saw a version of these on a well known retail site...for $5 each!  Each butterfly was $5!  I had to make my own and I knew it wouldn't cost me a thing~

DIY Butterfly hairpins, Butterfly bobby pins


 Here's what you need if you want to make your own pretty picks:


 -Go on the internet, find some pretty butterfly images, and print them out onto regular copy paper
-1 acetate sheet
-Mod Podge and sponge brush
-scissors
-small hole punch
-bobby pins
-optional: craft glue

Steps:
1) The first thing you need to do is cut out some butterfly images from your printouts.  I just happened to have these laying around, you don't need this many.


 2) Crack open your Mod Podge and sponge it onto the FRONT of your butterfly.


 3) Now lay it down, face first, onto your acetate sheet.


4) Do the same with the rest of your cut outs, leaving a bit of room in between.


5) It will feel like it's dry almost instantly but let it set for at least an hour.  See that milky look under the acetate?  Just be patient.  When that's gone you can go onto the next step.


6)  All dry?  All right, now you can cut out your butterflies, again, but this time going through the acetate.

Ooooh!  So glossy!
7) If you have a really small hole punch, punch two holes down the middle of the body of the butterfly.


8) Now just thread your bobby pin through the holes, squiggly side down.

There's no need to glue.  It's on there for good.
If you don't have a tiny hole punch like I do, then you can pull out your hot gun or craft glue and just adhere your butterfly to the flat side of your bobby pin.

That's it!  Just a few easy steps and you can have a whole swarm, flight, or kaleidoscope of butterflies!


Have you ever tried taking a picture of the back of your own head?
It's harder than you would think!

I think these could come in super handy for a wedding or any other special occasion.  What other insects would you try?  Maybe dragonflies?   Leave a comment~

I had a real live lady bug in my hair today, trust me, they're not so cute on your head.


Friday, May 9, 2014

Butterfly Cushion

After two weeks of nothing but craft fails I decided to go back to basics and just make something that I've been putting off for no good reason.

Butterfly Cushion, Butterfly pillow, Decorate a cushion


Here's what you need to make your own cushion covered in fluttering butterflies:


Materials:
-cotton remnant, heavy weight fabric, interfacing
-standard sewing kit
-not shown: 1 piece heavy weight paper and a pencil

This is what my cushion looked like to start with:


It's super cute and cozy for the cold weather months but I wanted to switch things up a bit.

Steps:
1) I took off the fuzzy cushion cover, turned it inside out, and measured it.  I didn't have quite enough of my heavy duty cushion cover fabric but I was able to make it work because the cushion itself is down, so it's super squishable.


I didn't take photos of making the cushion cover itself.  There are loads of tutorials out there, plus it's the simplest thing in the world to make.  Just sew up three sides, leaving room on the last side to insert your cushion.

Before you insert your cushion and stitch it closed though, let's decorate it!

2) I used a remnant of cotton I had.  I didn't have much so I covered the back of the whole piece with iron-on interfacing to stabilize it.


3) While you're letting your interfacing cool down a little bit cut out a pattern for your add on shapes.  I made two butterflies, one just slightly smaller than the other.  Use any shape you like~


4) On the back of interfaced cotton trace out as many shapes as you think you'll need.


Doing it by hand like this is a bit of a pain but it's the only way to ensure that you'll use every itty bitty space you can.

5) Cut out all of your shapes and start determining a pattern on your cushion.


6) I couldn't get as many shapes out of my fabric as I would've liked so I decided to add some texture but layering some of them.  I basted a running stitch on the small butterfly, ruched it up, and then hand sewed it to one of the larger butterflies.


I liked the look so much that I decided to gather all of them!


They don't all have two layers but I like that.  Butterflies aren't supposed to look the same~

7) Hand stitch your shapes onto the front of your cushion, insert pillow form, hand stitch opening closed.


I used a similar technique as this to make my Fluttering Butterflies top for my niece.


Do you change your decor when the seasons change?  Cushions are the easiest way to add colour and something new.  What are some of your tricks?  Leave a comment below~

Wednesday, July 17, 2013

You Make Me Smile

That's right!  You do!


I picked up this little mini pad of paper recently and decided to put it to good use.


You may have noticed that all of the cards I make are the same size.  That's because I have a couple of boxes of these blank cards I got for free and use them as my base.


And here's what I came up with!


My Silhouette did all the work for me, including the cute 3D butterflies.


Here's the card from Pinterest that inspired me, original is from JenniferMcGuireInk:

BG2

Do you give cards just for the heck of it or do you save them just for special occasions?  Leave a comment below~

Friday, June 7, 2013

Water Feeder

Now that all of the snow has FINALLY melted and I can spend some time outside I got out my trusty Outdoor Mod Podge and set to work on this week's fun butterfly project.


This is a fun and easy project that comes in super handy if you're going to be away from home for more than a few days and don't want your flowers beds to dry out.

Here's what you need to make your own water feeder.

Materials:
-empty bottle
-Mod Podge and sponge brush
-Pretty paper shapes

Steps:
1) Clean out your bottle and remove any labels.


I just used lots of hot water and this little scrappy thing.  If that doesn't work for you try using cooking oil~


2) Have all your shapes cut out and ready to go.  I had all sorts of butterflies left over from my canvas project I showed you last year so I figured I might as well put them to use.

It's nice if you have different colours and sizes but the look is all up to you.

3) Paint on your first layer of Mod Podge, adding paper shapes as you go.  Use your sponge brush to
make sure every little corner sticks down.


**Important!  Remember that your feeder will be standing with the mouth of the bottle down, make sure you hold your bottle upside down while adhering your shapes so that their right side up when it's put to use.  (Does that make sense???)

4) When your first layer is dry make sure to go back over the whole piece with a second layer to seal in all of your designs.

5) Once everything's dry, fill your bottle up with water and tip upside down into the soil where all your pretty flowers are.

Now you'll come home to full and well fed gorgeous planters!


What kind of flowers do you plant in your planters?  Any favourites?  I'm trying wave petunias this year!  I can't wait to see how they fill out throughout the summer.

I hope you've enjoyed Butterfly Week and have found some inspiration in all of the fun and fluttery projects~

Linkwithin

Related Posts Plugin for WordPress, Blogger...