
So when I need a little crafty pick-me-up I turn to Mod Podge. It's messy, but it's easy and fun. And there's always something laying around the house that could use a little Mod Podge makeover!


Here's what you need to make your own Double Wine Tote:

-Mod Podge, sponge brush (optional brayer)
-pretty scrapbooking papers
-even prettier embellishments
-scissors or a craft knife and straight edge (not shown)
-optional: glue runner
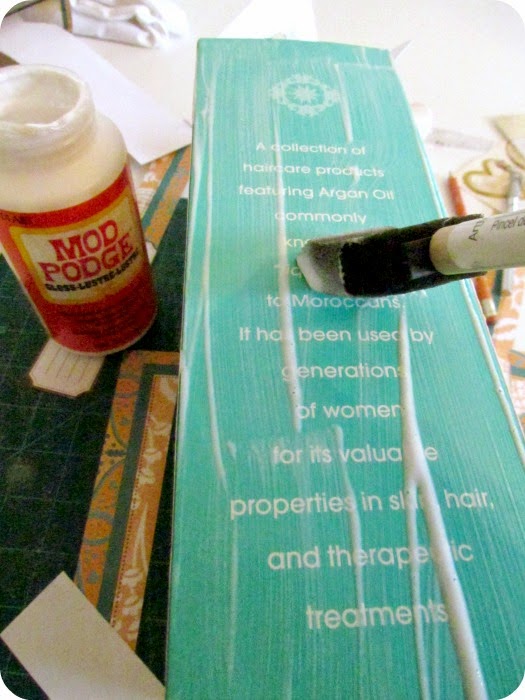
-caddy base (I used a hair products container)
Here's what I started with:
 |
| It's the container that my new shampoo and conditioner came in~ |
Steps:
1) Just lay your container right on your paper, trace, and cut out the pieces with scissors or a craft knife.

2) I had some neat paper from a pack that was meant for making a wedding album. I tried to be careful about my cuts, positioning the large squares that were meant to hold photos, so that they'd be centered on the box. Before I glued all of my cut pieces on I got out my new little stamping set from Wholeport and did a bit of embellishing.
 |
| I pressed extra hard to get the arced edging. If you press lighter you just get the corner flourish design. This set is pretty cool. You get 7 wooden stamps plus 2 double ended stamping pens. |
4) Once your box is covered with paper you can add as many embellishments as you want.

You'll notice that I didn't bother with the top piece. It seemed like it would get too fidgety, so I took the easy route and just found matching paper instead.
 |
| I'll add a little note to the front label once I figure out who the lucky friend is that will get this. |
You know what?!?! It worked. I had a bit fun getting messy and felt like I finally accomplished something in the craft room. Now I'm ready to get back at it and the ideas are starting to return to my little head.
What's your standard gift when you visit someone else's home? What do you like to receive? Leave a comment below~

1 comment:
Post a Comment