
!%20%20-%20Etcetorize)

If you want to take your recyclables from trash to smash, here's all you need:
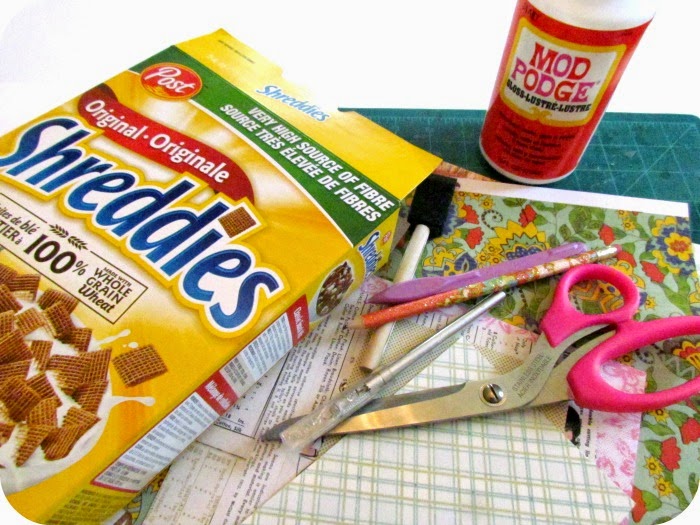
Materials:
-lightweight cardboard box from your pantry
-Mod Podge and sponge brush
-scissors, crafting knife, and cutting mat
-pencil, ruler, scoring tool
-pretty papers
-optional: brayer, scoring board
-not shown: clips or clothes pins
Steps:
1) Gently take your box apart so that it lays flat.

2) Cut along the pre-scored edges, thinking about how you will use each piece and snipping off bit like the one at the bottom front.

3) Here's what I ended up with:

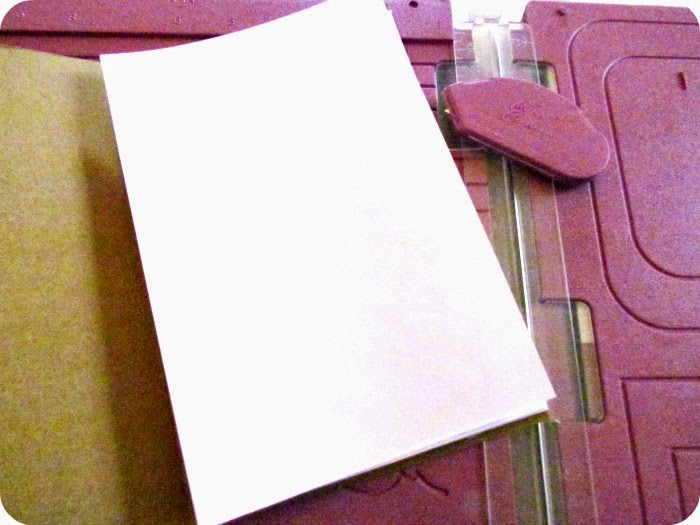
4) I decided to use the front piece to make a simple journal cover. Cut off all tabs so that you're left with a flat rectangle. Measure and mark the half way point on the long edges.

5) On the inside, score your board 1/8" on either side of your marks.

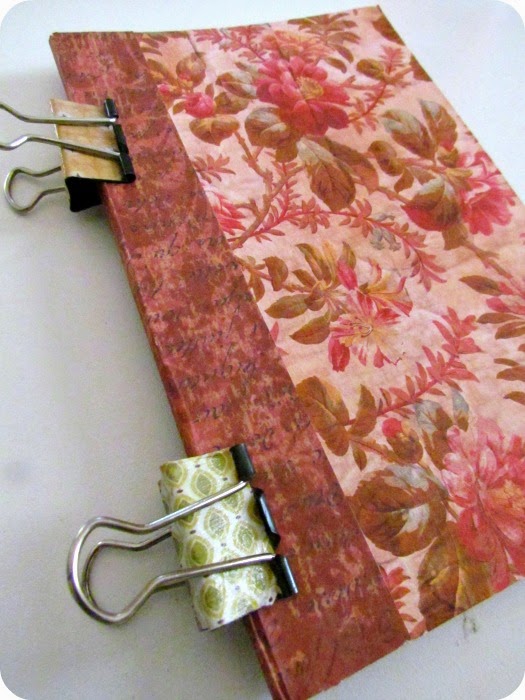
7) Clip your paper together so that the edges are even. With your sponge brush, generously apply Mod Podge along one long edge, being careful not to let it seep inside.

8) Clip the edge together, making sure that you're clips don't touch the Mod Podge. Let dry for a couple of hours.

9) While you're waiting for your paper slab to dry, you can start the fun part...decorating the outside! Just cut some pretty papers to fit and use your Mod Podge to adhere. This is where a brayer comes in handy if you have one. It just evenly smooshes everything down nicely.

10) Once you're done decorating, and your other piece is dry, add some more Mod Podge into the little canal you created when you scored the centre.

11) Place your paper slab inside, Mod Podged edges meeting. Close your journal and clip together again. Wait for everything to dry.
12) When that's all dry you can add pretty tabs and pockets to the inside if you want.


It sounds like lots of steps, but really it's a very simple project.
Here are some more books I made with the other pieces of the cereal box:

For these ones I used the flaps to my advantage and then just added a belt closure. I think the little ones will come in handy for things like grocery lists.
Warning...if you do this craft you won't be able to look at an empty box in your kitchen the same way again. You'll be thinking up all kinds of ways to cut it up, glue some pretty paper on it, and use it for something else.
Have fun!

This post may be responsible for me to stop purging my stash and start collecting stuff from the recycling bin again. I love handmade booklets.
ReplyDeleteVery pretty, and so nicely done. I was wondering whether there is a cheaper alternative to Mod Podge, or it is worth it to spend a bit more for quality. Thank you!
ReplyDeleteHi Agy Lee, I'm not sure. If you live in N.America you can usually get a small bottle of Modge Podge for less than $4.You could try using white glue but it might be a little more messy and will probably take quite awhile to dry. There is a special glue that librarians use but I think it's more expensive than Modge Podge.
ReplyDeleteAmazing. I am into journals and books but haven't gone this far..think I'll try it! Follow you from girlish whims linky
ReplyDelete