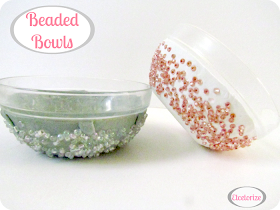
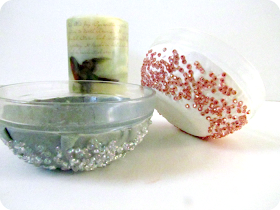
I was actually hoping that I'd be able to peel the clay off the bowl once it was baked, but no such luck. It's a happy mistake though because I like them like this just as much as the picture that was in my head~
Here's what you need to make your own beaded bowls:
Materials:
-polymer clay
-seed beads (you could try glitter or small buttons - just nothing flammable)
-small glass bowl
-plastic clay knife
-pasta maker for clay. If you don't have this you can just roll the clay out, just don't ever use your rolling pin for food afterwards.
Steps:
1) Break out some clay. Warm it up in your hands and roll it around to condition it.
2) Once it's nice a soft, shape it into a sort of oval rock shape. Gently glide it into your pasta maker at a wide setting. Keep putting it through at smaller settings until you get it nice and thin. Make sure to rotate the clay or you'll just get on long skinny piece that keeps getting longer each time you put it through.
3) Drape your flattened clay over the outside of your little bowl, gently stretching it to cover as much as you can.
4) Cut the edge with a plastic clay knife or other tool and then roll the sides of your bowl around in some beads.
5) Gently push the beads down to make sure that they're embedded right into the clay.
6) Bake your clay as per the directions on the package. I like to double bake my clay pieces. I'm not 100% sure but I think it makes the clay just a little bit more sturdy once it cools down.
You can ruffle the clay a bit like a did on the grey one above. If you're really talented you could even scallop the edge. This is a nice little craft buster if you have some extra beads or clay that you want to use up too!
What would you put in your little bowls? Leave a comment below~


They turned out so cute. Great idea.
ReplyDeleteHave a wonderful week,
Bev
@ Eclectic Red Barn