Pages

Friday, September 30, 2011

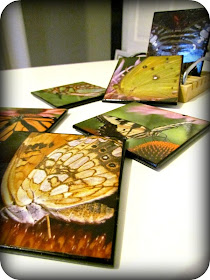
Butterfly Coasters

OK, I have a few bad habits.  Well, maybe more than a few, but today I'm going to confess only one to you....I cannot throw out old calendars. 

I have many.  Some of them have beautiful photos of travel destinations, some have pics of pretty flowers, some mean absolutely nothing to me at all , but I still can't throw them out.  I always think, someday I'm going to use those calendar shots for something.

So, that's exactly what we're going to do today.

Here's what you need:


I picked up this set of six glass coasters at the second hand shop for $3.00.  Everything else I already had on hand.


And this is the calendar that I'm using, it's a mini with cool super close-up pics of butterflies.


Steps:
1) First you should take apart your calendar and decide which photos you're going to use.

 
Normally this step would stop me in my tracks and I'd be paralyzed with indecision for weeks.  But I decided to throw caution to the wind and just picked six pretty shots of butterflies~

2) Next, wipe down your coasters so that they're nice and clean.  Then place your coaster on top of your calendar photo face down to decide how your going to crop your shot.  Using a sharp blade, cut around your coaster.


You'll probably need to do a bit more trimming to make sure it fits the way you want on the front of your coaster.

2) You could just leave your pics as is, or you can take a stamp pad and gently ink the edges to give it a subtle antiquey kind of feel.


Because of the glossy paper it really is very subtle, but if you used a darker colour it would show up much more.

3)Now we're ready to Mod Podge!  Yay!  My favourite easy thing to do!  Just slap down a layer of Mod Podge onto your coaster.


4) Place your calendar pic on top and burnish down with your fingers to make sure you don't have any air bubbles underneath.


5) Add another layer of Mod Podge over top.  Make sure to get right over the edges of the paper so that it's sealed right in.


6) I did two coats of Mod Podge and the coasters looked OK, but who goes to all this trouble to make something that's just OK?  Instead,  I decided to experiment a bit and added a third layer of Mod Podge using the Dimensional formula.


I used this Mod Podge when I made my Paper Jewellery and it worked great.  Here's a great tip though, which I read on the back of the bottle right after I gave it a good shake...don't shake the bottle!  It makes it bubble more.

Just squeeze out a little pool onto the middle of your coaster and then gently drag it across with a brush till almost the edge.


7)Now you just let them dry.


They'll have a milky look to them at first but don't worry, the Mod Podge will dry clear eventually.

This is a super simple craft but I'm a true believer in seeing beauty in the simple things in life.  And oh my gosh....look at them.... they're so nice and super glossy!


DIY Coasters, Easy DIY, Coaster Craft, Easy Kids Craft, Butterflies, Mod Podge, Easy Mod Podge, Decoupage

Because I used multiple coats of Mod Podge I'm going to let them sit and cure for a few days before I use them.  And then ...let the glasses of pink lemon-aide pour. (Yes, I still drink pink lemon-aide even though it's fall ~ )
You can check out other calendar art projects that I've done here and here .

If you not as neurotic as me and you've thrown away your old calendars try scrapbook paper or gift wrap or even wallpaper samples.

Leave a comment and let me know what you think.  What are the simple things in life that you enjoy?

Don't forget to enter the 300 Follower Giveaway  for your chance to win a gift certificate to buy your own craft molds at Mold Muse .

Have a great week everyone!  See you on Monday for the linky party~

Thursday, September 29, 2011

Inspiration Shot: Preserves

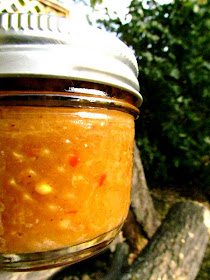
My friend and I trade fruit for veggies, but I think I end up on the better side of the deal because she also gives me beautiful jars of preserves that she makes from what I've given her!

Check out all of the amazing colours!

preserves, Inspiration, colour, colourful food, food in jars
Plums, Relish, Pickles, and Chutney

preserves, Inspiration, colour, colourful food, food in jars
Plums

Relish

preserves, Inspiration, colour, colourful food, food in jars
Steak Sauce
I think you can find inspiration from almost anywhere around you, and these pretty jars prove it~

Wednesday, September 28, 2011

300 Followers Giveaway!!!

Over 300 Followers?!?!?!  Yahoo!  I'm so excited.  I started Etcetorize a little over a year ago and was thrilled when I had just a few followers and a handful of people visiting every day.  Can you imagine how over the moon I am  now?

I truly appreciate all of your visits and comments and helpful hints and to show my appreciation I'm teaming up with Mold Muse to offer followers an amazing giveaway!


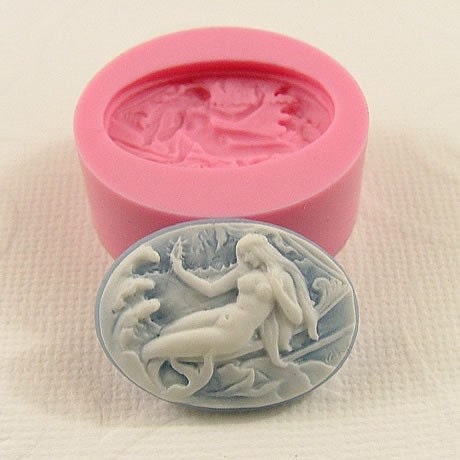
Mold Muse is one of my favourite shops on Etsy.  Here's just a small sample of some of the great molds you can get for incredibly reasonable prices:

Flowers:

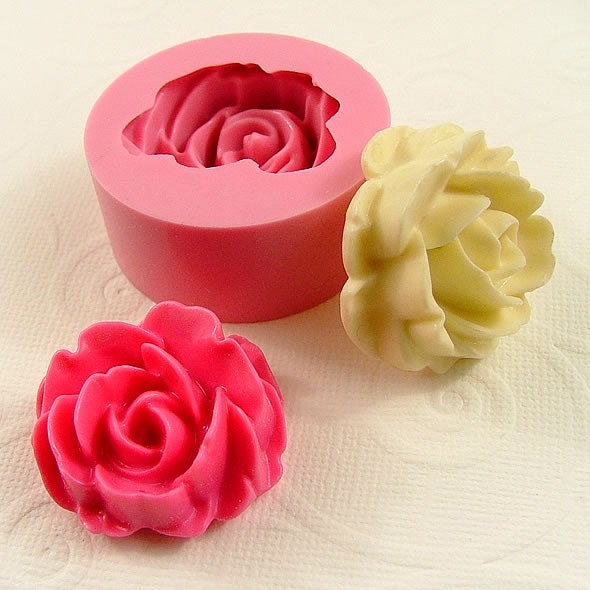
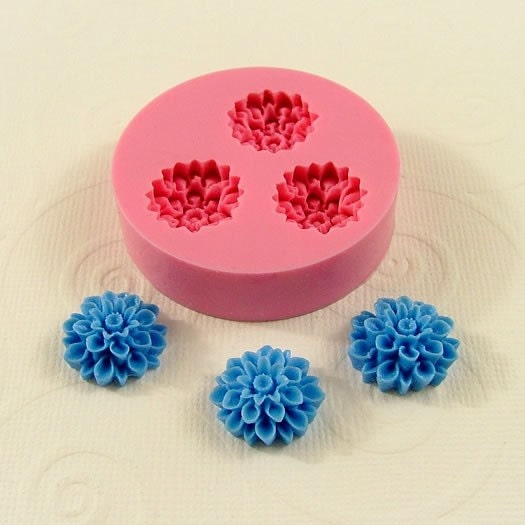
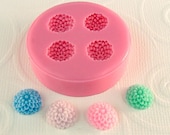
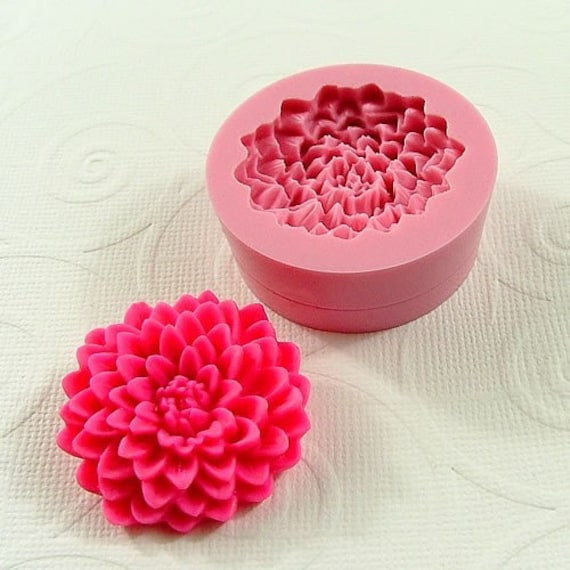
Large Rose Cabochon Flexible Mold/Mould (32mm) for Crafts, Jewelry, Scrapbooking  (wax, soap, resin, paper,  pmc, polymer clay) (186)   Chrysanthemum Mum Cabochon 3 Cavity Flexible Silicone Mold/Mould (15mm) for Crafts, Jewelry, Scrapbooking, (resin,  pmc, polymer clay (204)   Chrysanthemum Mum Cabochon 4 cavity Flexible Silicone Mold/Mould (10mm) for Crafts, Jewelry, Scrapbooking, (resin, pmc, polymer clay) (263)

Animals:

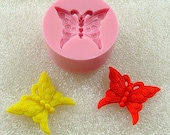
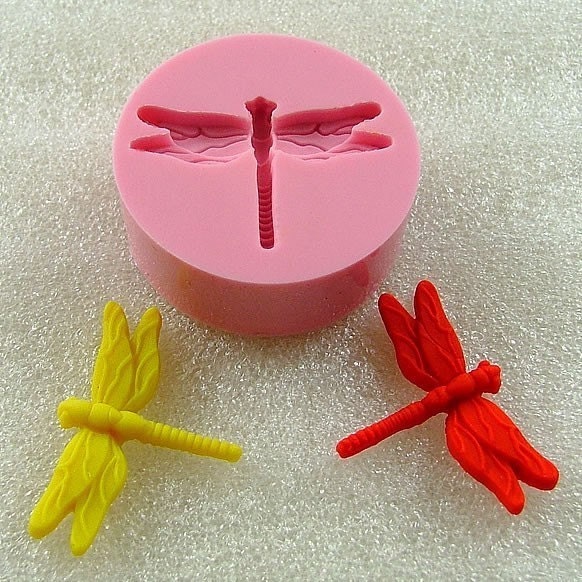
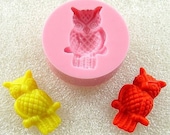
Butterfly Flexible Mini Mold/Mould (21mm) for Crafts, Jewelry, Scrapbooking (resin, Utee,  pmc, polymer clay) (115)  Dragonfly Flexible  Mold/Mould (21mm) for Crafts, Jewelry, Scrapbooking  (wax, soap, resin,  pmc,  polymer clay) (116)  Kawaii Owl  Flexible Mini Mold/Mould (18mm) for Crafts, Jewelry, Scrapbooking  (resin, pmc, polymer clay) (101)

Cameos:

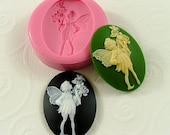
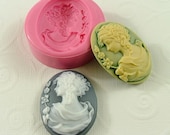
Mermaid Cameo Flexible  Mold/Mould (25mm) for Crafts, Jewelry, Scrapbooking (resin, pmc,  polymer clay) (184)  Fairy Cameo Flexible Silicone Mold/Mould (40mm) for Crafts, Jewelry, Scrapbooking, (wax, soap, resin, pmc, polymer clay) (247)  Lady Cameo Cabochon Flexible Silicone Mold/Mould (40mm) for Crafts, Jewelry, Scrapbooking, (resin, pmc, polymer clay) (239)

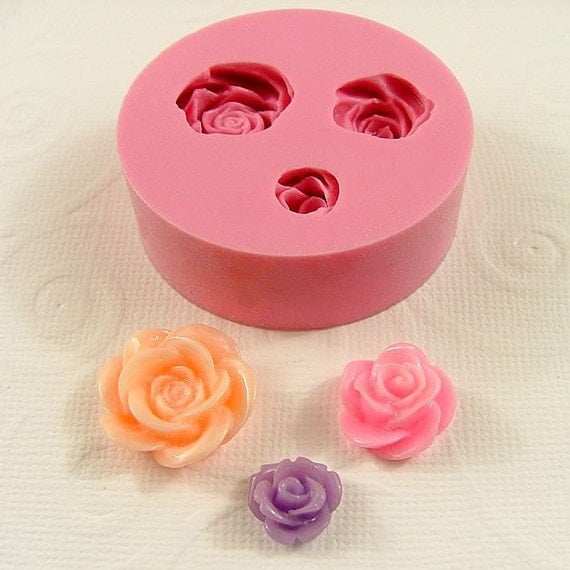
If you've ever wondered how people make their own cabochons for jewellery and other accessories...this is how!  You can use these molds with resin, polymer clay, wax, etc. 

So far I've purchased these two molds:

Flower Cabochon Mold Roses  Asst. Sizes Flexible Silicone  Mold Mould  resin  pmc  polymer clay molds (183)       Chrysanthemum Cabochon Flexible Mini Mold/Mould (32mm) for Crafts, Jewelry, Scrapbooking, Sewing (resin,  pmc, polymer clay) (156)

 And I've been having so much fun with them!


I've been playing with polymer clay and added some Mod Podge Sparkle on some pieces (I couldn't resist).  I'm still playing so nothing's quite finished~

Ludi and her husband have been making molds for twenty years and have perfected the art.  I can tell you from personal experience that these molds are superior quality.

So....how do you get one...or many???  Easy...Ludi is going to offer one super duper lucky Etcetorizer a $25 gift certificate!  With most molds between $5-$8 dollars that's enough to let you try a few different sizes and shapes. 

Here's how you enter:

1) Become or already be a Follower of Etcetorize by clicking on the Google Friends Connect Follow button in the side bar.  Then just leave me a comment below to let me know.

Additional Entries:

2) Visit Mold Muse, find your favourite mold, and come back here to
 leave a comment with the product link.

3) Visit Mold Muse and give Ludi a little love by
favouriting her shop, come back here and leave a comment
letting me know that you've done so.

This contest is now closed.  Thank you to everyone who participated!

There you go...3 super easy ways to have a chance of getting your own molds.  I'll randomly draw a winner from the comments on Wednesday October 5th so make sure to get your entries in before then.

Have fun and thanks for following Etcetorize!!

Tuesday, September 27, 2011

Make it Great Monday Features

Thanks for another fun party yesterday everyone!  All of the projects shared were so great it's hard for me to choose which one to feature...so today I'll feature two of them!

Most clicks went to Bethanny's cute pillow over at A Fish Who Likes Flowers.


 What a great inspirational quote!

And the second feature goes to Whitney at Grassroot Elegance for her tutorial on how to make this super pretty necklace:


Thanks everyone for sharing your creativity and don't forget to go check out these two great blogs for more crafty ideas!  I can't wait to see what you all have next week!


Sunday, September 25, 2011

Make it Great Monday!

Yay! It's Monday and you know what that means...time to start the week out on the right foot by sharing your latest and greatest projects.

Link up your family friendly crafts, sewing projects, and recipes below (no shops or giveaways please).  Take a minute to visit someone else and leave a comment.  And don't forget to check back tomorrow to see who's featured!

You don't have to be a follower of Etcetorize to participate but it sure would be nice.  Please post my party button somewhere on your blog so that others can join in the fun:


Etcetorize


And now...let's link!


Follow My Friends: Dearie Designs

It seems like quite some time since I've featured one of my new bloggy friends, so I figured I'd better get to it!

Today I'd like to introduce you Amy over at Dearie Designs :

Dearie Designs


Amy is a scrapbooker/stamper /cardmaker extraordinaire.

Blooming Birthday Party
I've mentioned more than once that this kind of crafting is a challenge for me but Amy makes it look easy, something even I could do!
Triple Scoop Card
What I really love is when she uses her papercraft techniques to go outside of the box.

Fabric Flowers

Metal Butterflies
So go visit Amy, check out her fun projects, and tell her I said 'Hi!'


Don't forget to check out the Follow My Friends tab
up top and add your blog button if you'd like to be featured~